1. Buy better beans!
While you might be left wondering why we recommend spending a little on supplies upfront, considering we just cautioned against the Fivebucks, hear us out and take these first, few easy steps now to get a better product in the future: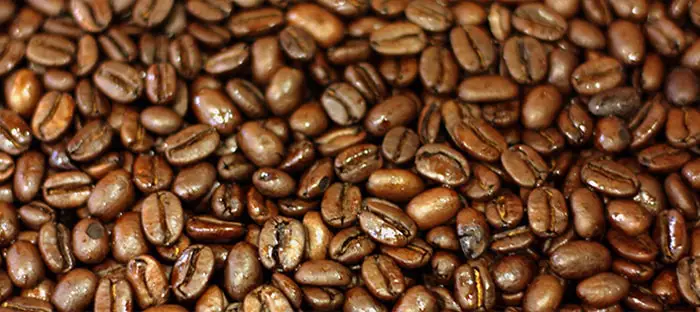 Know your bean: While there are seemingly thousands of choices when buying coffee grinds or beans at the local grocer, there are only two types of coffee beans: Robusta and Arabica. Buy the latter to up your game, regardless of their current state. Here’s why:
- Robusta are heartier, but lower quality
- Arabica are self-pollinating and have better tasting properties
- Robusta have more caffeine, but a far more bitter taste
- CoffeeArabica, depending on where it’s grown, has a wide variety of flavor profiles
- The coffee belt, or some 50 countries located between 25 degrees North and 30 degrees South (see pic below). That said…
- We aren’t here to give you a geography lesson, but for those concerned about social issues like human trafficking, be sure to choose responsibly.
 ⸙ Barista Tip: Think about coffee like you would think about wine: don’t grab the least expensive option, don’t buy based on ‘cover art’, and don’t worry if you don’t get it right the first time—there are plenty more options the next time you find yourself at the supermarket!
Know you’re on the right track: Coffee brewing might seem more science, than art at this point; take heart that you will experience a better cup of coffee tomorrow just by considering your source!
2. Tweak what you’ve got
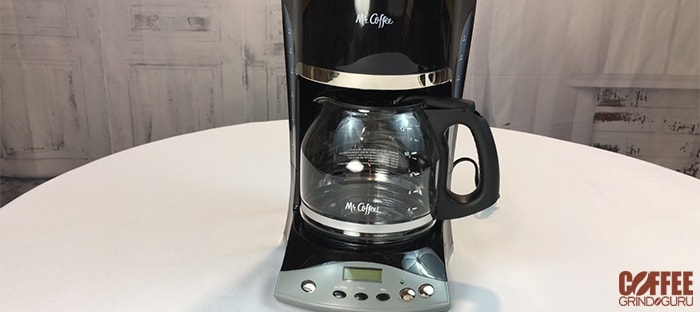 Perhaps you have an old 12-Cup Mr. Coffee Pot lying about, or, still further, you unearthed a Keurig from when you were still at uni. Regardless, and no judging, you can use whatever you’ve currently got to improve your caffeine fix.
- CoffeeClean er’ up: We know we sound like your mum, but coffee quality is directly related to water quality, which means taking the time to scrub out this morning’s (or last year’s) brew.
- Check filters, baskets, and plungers: Sometimes switching from industrial paper filters to organic filters can result in a better brew as, and just with sheets and their thread counts, changing the size of the ‘hole’ in which the water must pass after coming into contact with the coffee (more on this, anon) can make for a stronger, slower cup of joe or a weaker, fast cuppa.
3. Chemistry
I know, I know, we said the ‘S’ word (i.e., S-C-I-E-N-C-E). But when you stop to think about coffee and wine and food, it really, very simply, is a fun earth science. Having just a bit of respect for chemistry can also help you achieve a strong flavor and mouthfeel tomorrow morning, by considering the following: ⸙ Barista Tip: Try not to overthink the water-to-coffee ratio initially, but begin to wrap your mind around grind size using this analogy: finer grind, like sand, will gum up the water and slow the extraction process with the potential for more sediment (think a poor pour-over (NO PUN INTENDED!)) versus a larger, pebble-like grind, which could cause the water to pass quickly over the coffee with a weaker finish (coffee at the petrol station)- CoffeeWeak or strong: Many folks might skip brewing a cuppa in their kitchen because they can’t quite seem to make a consistent coffee, which can be remedied by taking the following steps before you go to bed tonight: 14-16g of coffee for each 8-oz. cup OR 1-2 TBSP for each 6-oz. cup.
- Know your drink size: By checking whether you’re making a 16-ounce coffee or 24-ounce jumbo cup, the same ratio of coffee-to-ounce applies (see above), which yields an ideal taste along with a caffeine amount of 1.5% to 10% per 8-oz. cup.
- Weaker: Aim for the 1.5% end of the caffeine spectrum and considering using the below filter coffee method or similar ‘barrier’ method for achieving your ideal mouthfeel day after day.
- Stronger: Like espressos or Americanos? Well, then the 10% end of the caffeine scale would suggest that you may want to invest in an espresso machine or aeropress (all detailed below).
- CoffeeConsistency is king: Begin your morning ritual at night, or, set up your French Press, aeropress, or filter coffee pot the evening before you want your cup o’ joe and follow the instructions on your latest purchase as a grind size will have been accounted for already and will help aid you determine how much water to use.
- Water: It might seem like a bit much, but do you use the tap and city water to make your drinks? Switching to bottled water could make just enough of a difference to aid you in kicking the FiveBucks habit. It could be one of easiest changes you can make to improve your coffee brewing at home.
- Storage: If you are purchasing ground coffee, then your grinds are at risk of losing their flavor and ‘spunk’ over time due to contact with the air and other noxious gases. That said, consider buying whole beans and grinding as you need (but, again, the night before so you’re not tempted to skip your own counter for the big chain’s).
- Shopping: Consider reading a bit more on the back of the coffee bag you plan on purchasing the next time you’re at the grocers, or, up your long-term game and purchase whole beans as well as a decent burr coffee grinder to get either finer or more pebble-like grinds.
4. Equipment: Every little helps!
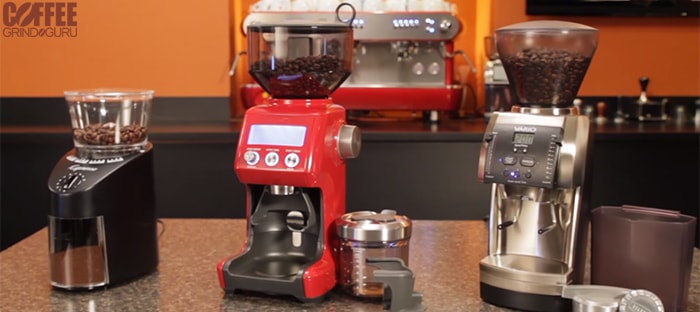 Speaking of the grocer, and, yes, we know that the above is a ‘Tesco thing’, but it truly applies in the world of coffee, too. Just hear us out when it comes to purchasing a few critical tools that will improve all of the soon-to-be discussed brewing techniques:
- CoffeeGrinder: As previously discussed, grind size will directly impact (both positively and negatively) your cup o’ joe. So, once you know whether you want a strong, flavor-filled, cup (achieved by pour-overs and Turkish techniques) or weaker, all-day coffees (think all make and manner of filtered coffees), you have the ability to control everything from freshness to caffeine
- CoffeeCups: This might sound simple, but that just means you can get crackin’ on quitin’ the corner-store habit; quickly, purchase something new and beautiful or cool, which you’ll be more apt to use and keep it nice and clean…just like the rest of your equipment using…
- CoffeeTowels: Have you ever seen your barista cleaning out the heads of the espresso machine? You have, right? So, take a page out of their book and wipe out your coffee machine or Chemex (discussed below) and certainly do not let any sediments build up on your kettle, which brings us to, er…
- CoffeeKettles: If you elect to go with those methods requiring steeping, then you may need to invest in a solid, sturdy range-top kettle or a gooseneck kettle, in order to keep your water hot enough (see above considerations regarding temperature)
- CoffeeFilters: Like grind size, filter size will either help or hinder your ideal cuppa
- CoffeeScale: If you really want to boost your long-term game, then consider purchasing a scale to measure out grams of coffee or espresso toward the achievement of your best water-to-caffeine ratio yet!
Pressure Brewing:
5. Pressure Brewing 1: Espresso
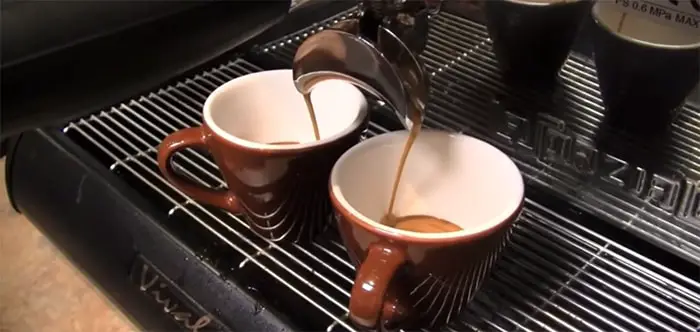 Investing in the espresso machine might be a long-term goal and something that will not immediately up your coffee game tomorrow morning, there are still a variety of aspects to appreciate with this method that will immediately get you thinking about how to make your cup o’ joe better day over day.
- CoffeeThe night before: Ensure the machine is clean and that you have the tamp, grinder, knock box, and heads all clean and assembled
- CoffeeThat morning: You will need to ‘dial’ in the grinder and machine to ensure that you are getting a nice caramel coloured pour with as few grinds in the backflush as possible
- CoffeeServe: Once you are dialed-in, then pulling shots should be quite easy, but do check to ensure that no environmental factors have taken place no less than once per hour
6. Pressure Brewing 2: The Moka Pot
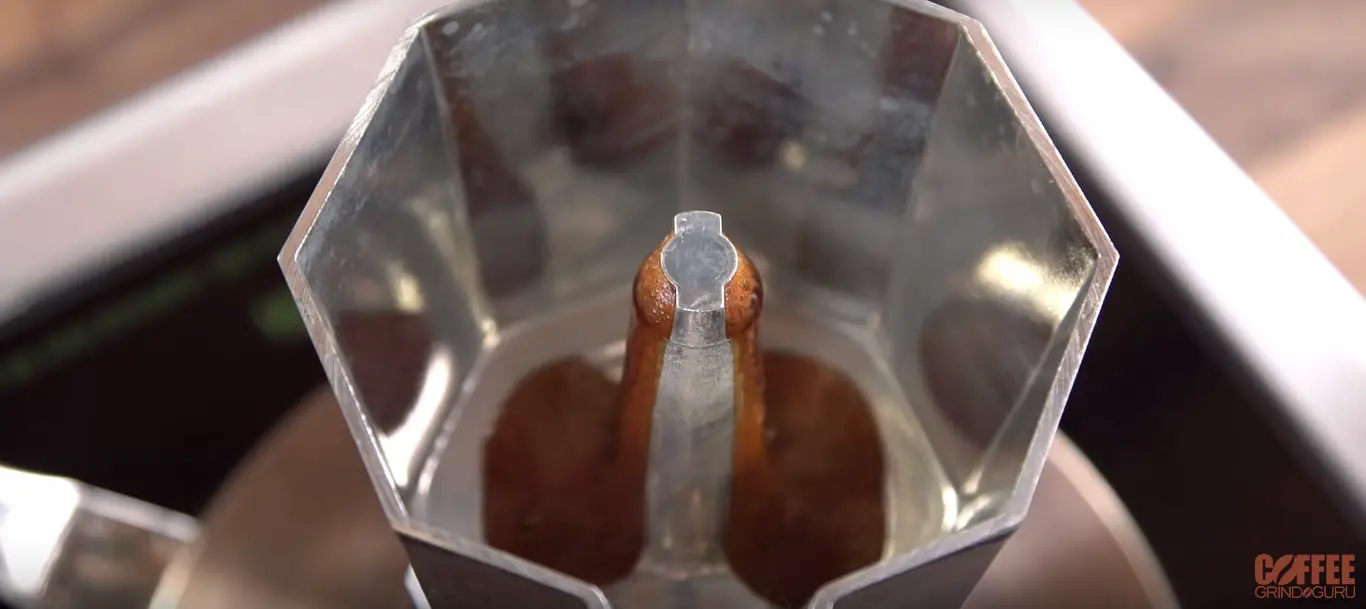 While we discuss some of the pains of traveling with your favorite coffee equipment below, this little pot might actually be the exception to the rule as all it requires is an open flame (perfect for the caravan).
- CoffeeThe night before: Prepare a generous 12-ounces of water or fill your Moka Pot’s lower chamber just below the valve; measure out a generous ¼ cup of fine-to-medium grinds and then turn in for the night (van not included)
- CoffeeThat morning: Boil the water without the filter and then place in the lower chamber of the pot; now, add the grinds in the Moka Pot filter and listen for gurgling or bubbling, but continue to heat over medium heat
- CoffeeServe: Remove from heat and serve; clean at your leisure…or the next campsite!
7. Pressure Brewing 3: Aeropress
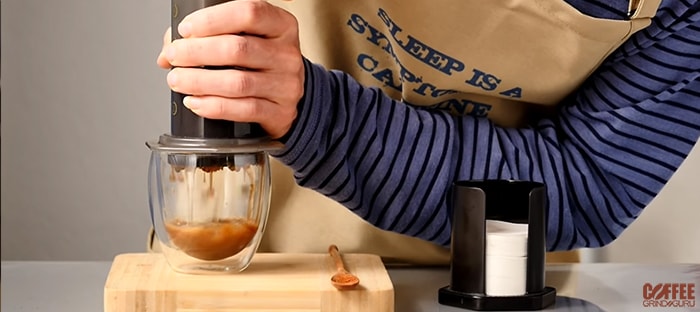 As with all espresso, the yield from this process will not come out to a standard looking cup o’ joe. That said, and done right, you can still achieve a big bang for your buck.
- CoffeeThe night before: Prepare a kettle with a small 4-ounces of water; measure out 2 tablespoons very fine granules of ground coffee and set aside; ensure your Aeropress funnel, chamber, and filter are all clean
- CoffeeThat morning: While your water boils, wet the filter, and place in the chamber with the grinds to follow in a level fashion
- CoffeeServe: Be ready! Once the water boils, ensure you have a firm grip (ensuring a ‘seal’) between the press and the mug and pour…carefully! Once the water is in the chamber, gently depress the plunger and check that you have a caramel-coloured product. Once the pour appears ‘watery’, stand down, soldier…and enjoy!
Steeping:
8. Steeping 1: The French press
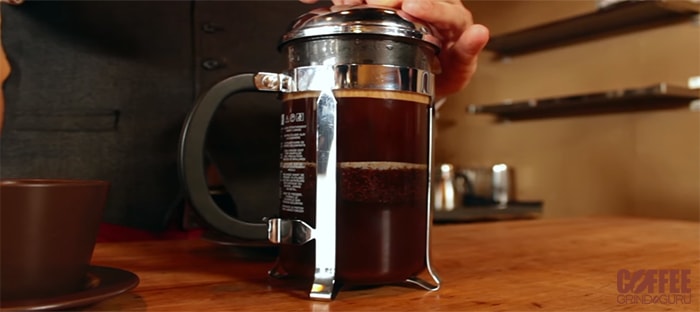 As you’re likely to have gathered, the equation is fairly simple: water + grinds = coffee. Notice, however, that taste, mouthfeel, and enjoyment are not factored into that particular formula. That’s why it is so important to take care when steeping coffee and employ a rough water to grinds ratio. That said, we’ll get you started, but let you dabble in the confines of your own lab, er, kitchen!
- CoffeeThe night before: Prepare a kettle with a generous 12-ounces of water; measure out a generous ¼ cup of course grinds and place in the French press
- CoffeeThat morning: Boil the water, grab a spoon, and get ready to plunge! Once the water boils, carefully add it to the press and stir until the ‘sediment’ is settle…then, and only then, carefully depress the plunger so as not to forcefully cause grinds to ‘escape’ into the press
- CoffeeServe: Pour out all of the coffee into a carafe for long-term use or sip peacefully from the press; be sure to clean all of your tools for tomorrow before de sortir out the door! Bon appétit!
9. Steeping 2: SoftBrew
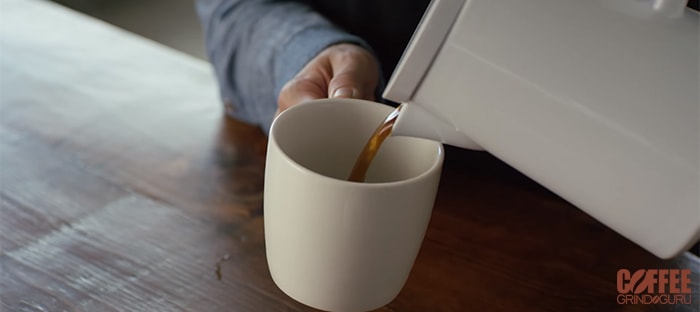 Not big on the bougie brew? Then these next two methods are for you!
- CoffeeThe night before: Prepare a generous 12-ounces of water; measure out a generous ¼ cup of any type of grinds and plop in the specialty filter
- CoffeeThat morning: Boil the water and let steep for four to eight minutes
- CoffeeServe: Like tea, remove and add any fixin’s that might fit your fancy (and then, please, rinse out that filter!)
10. Steeping 3: Coffee Bags (like tea, but not!)
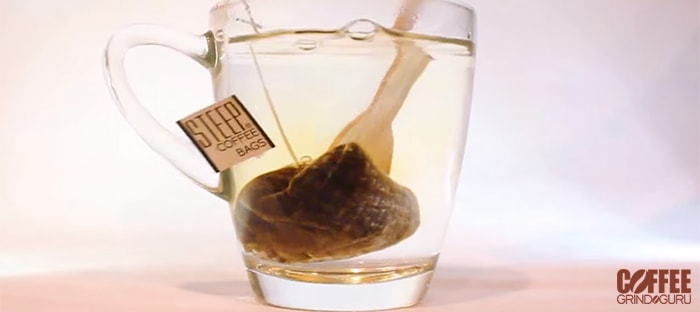 In keeping with the ‘tea theme’…
- CoffeeThe night before: Ready a kettle with hot water and place a bag of coffee into your favorite mug and, then, go get some rest!
- CoffeeThat morning: Boil the water, pour over the bag, and let steep for three, maybe four, minutes
- CoffeeServe: Remove the bag at your leisure and get on with your day; NOTE: this may be a cheap, portable method, but will result in microwaste and not always a great-tasting cup o’ joe
11. Steeping 4: Siphon, or: Vacuuming
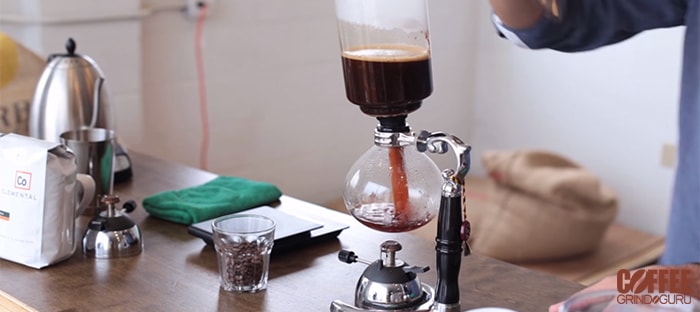 So, here, we kick things up a notch and return to the lab, er, kitchen! Beware, however, that with this method the buy-in and upfront investment means you have fully committed to upping your long-term coffee game.
- CoffeeThe night before: Prepare 10-ounces of water; measure out a small three tablespoons of medium grinds and plop in a filter
- CoffeeThat morning: Boil the water, input the grinds, push, and stir the slurry with a butter knife
- CoffeeServe: Turn off the heat source first, then remove the bulb, and allow the glass to cool before lifting to serve…again, taking great care!
Drip/Pour Over:
12. Drip/Pour Over 1: Percolator
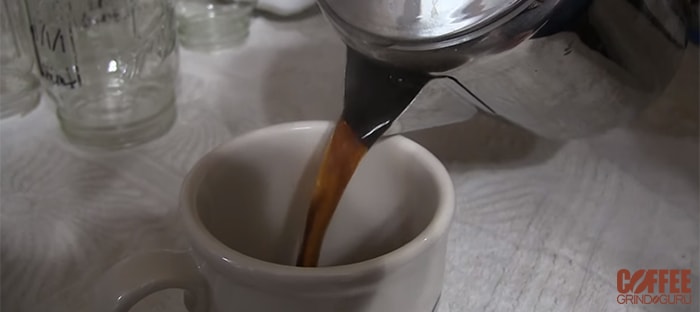 This method might seem similar to the Moka Pot, but with just two chambers, this little guy will result in an actual cuppa versus an espresso-like shot.
- CoffeeThe night before: Prepare a generous 16-ounces of water or fill the lower chamber; measure out a generous ¼ cup of medium grinds
- CoffeeThat morning: Place the coffee into the top chamber and set the entire rig on the stove and let boil
- CoffeeServe: Enjoy once you hear the perking or bubbling! Oh, and return to clean once you are sufficiently caffeinated.
13. Drip/Pour Over 2: The Chemex
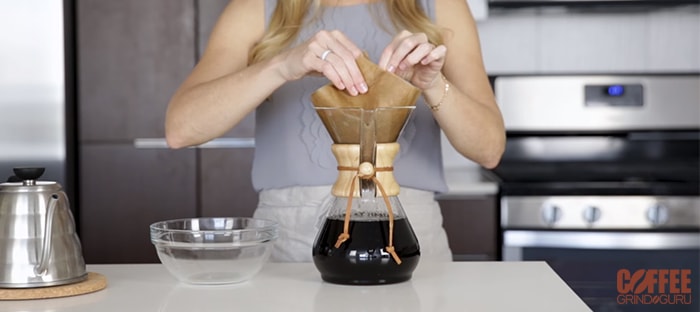 Not quite ready for the rig that is the Siphoning method? Then up your game tomorrow with this cute, chemistry-like bulb and filter device.
- CoffeeThe night before: Prepare a generous 16-ounces of water; measure out well over ¼ cup of medium grinds and plop in a filter
- CoffeeThat morning: Boil the water, remove from heat, and then begin to pour over the coffee starting with a ‘dollop’ in the middle and then followed by concentric circles allowing the water to pass and not pool
- CoffeeServe: Remove the basket of grinds and dispose; pour into a carafe or use your rig as the serving device and enjoy!
14. Drip/Pour Over 3: Drippers, drippers, and still, more drippers, or: Hario, Kalita, and Clever
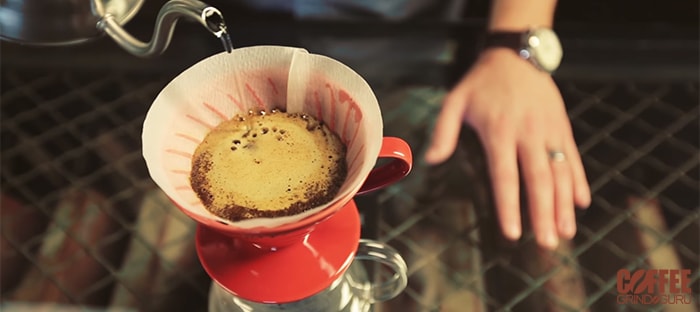 Regardless of how, or what, you call your dripper, you should be thinking of a funnel that can be seated above your waiting mug.
- CoffeeThe night before: Prepare a generous 12-ounces of water; measure out a generous ¼ cup of medium grinds and plop in a filter before you nest it in the Hario, Kalita, or Clever
- CoffeeThat morning: Boil the water over medium-high heat, and just as it starts to boil, go ahead and carefully remove the apparatus from the range and slowly begin to pour in nice, concentric circles only about 1/8 of the water at a time. In other words, too fast a pour could clog up the drip ‘hole’.
- CoffeeServe: Simply lift and place the pour-over device and enjoy. But, again, not to harp on you like your mother, think about rinsing and cleaning your device so that it can dry and be ready for a quick setup tonight!
15. World Tour
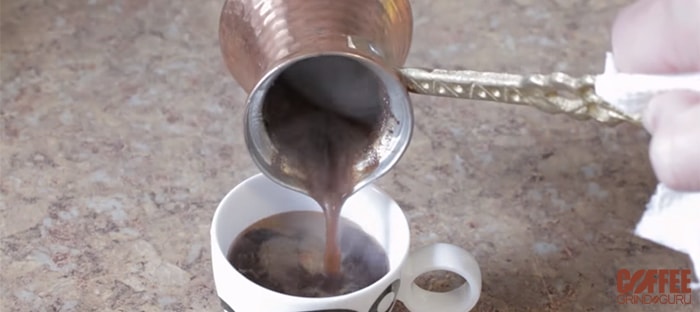 We understand that there may be times when you must travel and aside from the few drip methods we previously discussed, many coffee methods and brew equipment do not travel well. Just imagine trying to secure ceramic pieces with fragile handles or, worse, entire assemblies that might not look so harmless passing through airport security.
Holidays do not necessarily mean that you have to forgo a good cup o’ joe, though, and can be just the opportunity you need to up your coffee game by learning from the locals. Oh, and if you’re like us, learning about coffee can also prove reason enough to plan your next trip abroad!
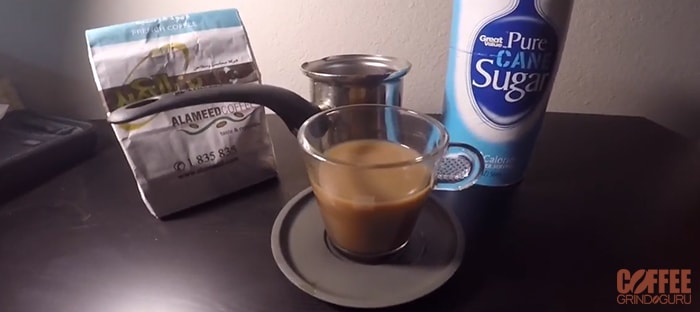
- CoffeeTurkish: This brew method is a labor of love and will see you, or the purveyor (when in Rome (or Istanbul, as it were)), simmer very fine grinds two to three times before finally creating a thick, foamy, and tasty cup of coffee.
- CoffeeFrench: As we already covered the French press method (cf. above), here we will discuss some faux pas that could land you in hot water (no pun intended!) on your next trip to Paris. Conversely, knowing a few coffee ‘words’ might also win you brownie points with the well-heeled; not that they would ever let you know that! Still, here are a few transliterations, tips, and tricks:
- It’s all about timing: The French do not drink milk-based coffee after noon, nor do they dabble in that down-on-their-luck drip coffee. That said, try to order a café, café noir, espresso, or café express, especially in the afternoon and without food! NOTE: Ordering with food is acceptable in the morning and quite good with a tartine topped with jam and butter!
- What to expect: Espresso, espresso, espresso. If you need a bit of an Americano, then order a café allongé.
- Other drinks: Need a cappuccino? Try a café crème. Need a little milk (in the morning, of course)? Try a café au lait.
- Arrow Circle RightAvoid: Do not drink you coffee on the go or in a paper cup; instead, try to slow down (you are on holiday, right?) and take in the busy streets and passersby. Finally, and most important of all, do not allow yourself to get overwhelmed: soak it all, take home your knowledge, and try to duplicate the experience while saving a few pennies and pence!
 ⸙ Barista Tip: While we recognize that Italy is considered the birthplace of the third place (between work and home) as well as coffee culture as we know it in the West, there are other hidden gems the world over in which to enhance one’s understanding and respect of the bean. Still, we can learn a lot from the Italians, especially when it comes to implementing the 5M’s in our own homes, or: Miscela (blend), Macchina (coffee machine or brewing equipment), Macinino (grinder), Manutenzione (care for the equipment and maintenance), and Mano (brewer skill).
- CoffeeSingle Origin: You will have noticed this in your local High Street shop as well as the high-end FiveBucks chains: social sourcing. These beans, grown and harvested in one region (not necessarily one farm), will have the same profile in taste and mouthfeel. Drying and bean preparation will also change based on the region with some beans being dried in the sun whilst others are wet-hulled. Give these a try based on taste profile and target regions that boast sweet beans (Colombia and South America for instance) or more earthy tones (Sumatra and the Far East).
- CoffeeBlends: Just as single origins, er, originate from one region, blends will find their profile across a variety of beans. Just like wine, a blend may not be pure, but it will be no less tasty and will help you and yours learn more about the Specialty Coffee Association of America’s (SCAA) Coffee Tasters Flavor Wheel
 ⸙ Barista Tip: When studying the flavor wheel, do just that: study it! Start at the center and slowly work your way out, taking time and care to notice the gaps between flavors. And, most important of all: taste some coffee and have fun trying to describe what you experience and feel. Oh, and watch out for ‘rubbery’ or ‘burnt’ as you may need to rush to the Tesco to get a higher quality coffee.
Roasting Coffee Beans at Home To Improve Coffee Brewing Quality
Roasting coffee beans at home can greatly enhance the flavor of your coffee. However, many people make common coffee roasting mistakes, such as using too high of a temperature or not monitoring the roasting process closely. By avoiding these errors, you can improve the quality of your coffee brewing at home.
16. Time Travel
We get it, traversing the world isn’t for everyone, but you can still channel Doctor Who and take a trip back in time!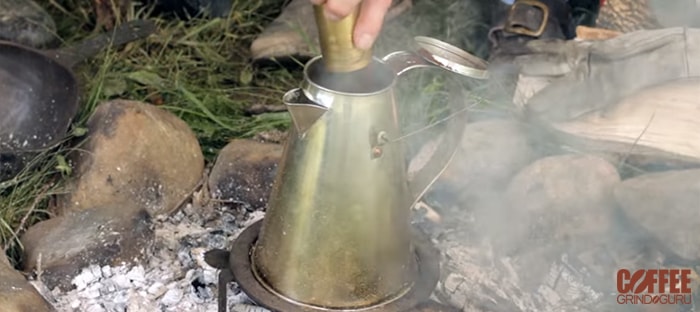
- Coffee17th Century Coffee: This brewing method will see you purchase green beans, roast them in a pan on your range until they pop like, er, popcorn, grind them, and then boil them before slurping the thick, unfiltered ‘sludge’ from a shallow bowl. Yum, right? Regardless, let’s all be thankful for the nearly one-thousand years of technology between this method and all those above!
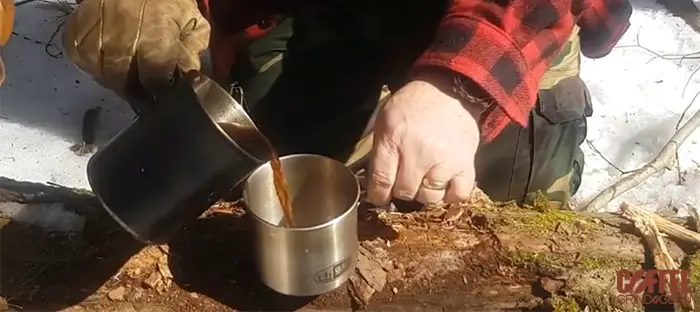
- CoffeeCowboy Coffee: Fast forward a couple hundred years, grab a saucepan and your coffee and prepare to pony-up…literally! Cowboys were known for their love of caffeine and would use a pan, fire, and mug to get their fix. It’s easy: just boil some water, remove it from heat, throw in the grinds and wait for them to settle before you pour yourself a cuppa. NOTE: sitting around a campfire is optional (but highly encouraged)!
 ⸙ Barista Tip: Coffee predates the 1600s with origins all the way back to c. 850 AD! The first beans were discovered in Ethiopia and, get this, were first enjoyed by goats and, eventually their herder, Kaldi.

