CoffeeGrindGuru knows that coffee goes well beyond the wake-up call. In our humble opinion, coffee is…
a reward.a pick-me up.a celebration.
What coffee is not, again, in our most humblest opinion, is…
difficult to make.difficult to procure.difficult to understand and, therefore, difficult to enjoy.We’re here to help you achieve that celebratory cuppa without spending a small fortune for a daily dose of happiness.
So, what did we set out to do? We endeavored to replicate those most popular of drinks that are draining your bank account, health, and wealth, beginning with the top-selling Vanilla Latte and the seasonal variation known the world over as the PSL, or Pumpkin Spice Latte.
That said, let’s get started!
Which Vanilla Latte Do You Fancy?
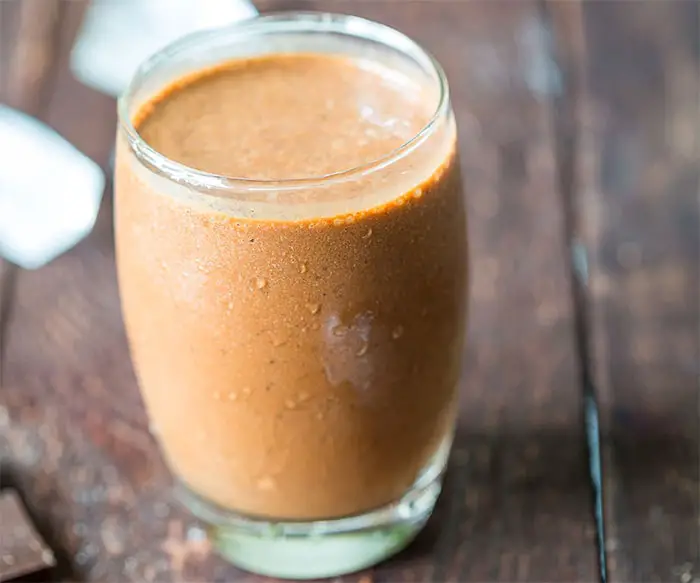
Frozen Vanilla Latte
Iced Vanilla Latte
Classic Vanilla Latte
The CGG’s Vanilla Latte Hack

The basics: regardless of whether you want a frozen, iced, or hot latte, the biggest key to success in creating a Vanilla Latte is knowing just what a latte is, which would be… a combination of espresso and steamed milk, typically accented with a bit of flavor. In this case, the sweet and aromatic touch of vanilla takes center stage. To elevate your experience, consider topping your latte with the best cold foam at home—rich, creamy, and perfectly frothed for that coffee shop feel.
- a base layer of espresso with foamed milk and a touch of froth on top (that’s it!). You can always add art or whipped topping, but it’s really (and truly) that simple.
Getting started: of course our trusted barista braintrust know you won’t have easy access to an industrial espresso machine, so we’ll start you off with a tool and ingredient shopping list so you can succeed over the long haul. You may need the following tools:
- Blender: only if you’re going for a frozen latte (which is the easiest)
- CoffeeIce cubes: again, only if you’re after a frozen or iced latte
- CoffeeMeasuring cups: this will help you measure out the milk of your choice
- CoffeeDemitasse or espresso cup: while you could using (boring ol’) measuring cups to achieve 60 to 90 mL of espresso, the espresso cup is meant to yield two shots, which is the ideal amount for the average (16-oz) latte
- CoffeeCordless milk frother: again, if you have an espresso machine with a steam wand, then that’s great; we’re assuming you don’t or prefer to keep your clean-up time to a minimum
- CoffeeStencils: for fun foam art!
⸙ Trade secret: some like it hot, some like it not (hot). Here’s one little reminder when preparing a hot or iced latte: you need extremely hot shots of espresso whereas for a frozen drink you can get away with a room-temperature espresso since this will prevent a watery slushy
Ingredients: time to gather up the goods starting with the base!
- Again, we realize that you make not have an espresso machine, but you will need to either source or make 60 to 90 mL of espresso. Our recommendation? Invest in a Moka Pot (instructions on best use can be found in our brew guide section) or an AeroPress (again, instructions on best use can be found under our various brew guides). In a rush? That’s OK! Grab a bottle of cold brew or similarly intense coffee. Not in a rush? Brew your own cold brew or follow our forthcoming CGG hack for this 12- to 18-hour process.
- CoffeeIf you’re going for broke (maximum taste with, er, maximum ‘nutrition’) we highly recommend using whole milk as the consistency you achieve post-froth is second-to-none. If you have a tummy problem with lactose or want to maximize taste without all those calories, then you can achieve moderate froth (or foam) with almond or soy alternatives as well as skim or reduced fat milk. Just manage your expectations if using the latter since they may fall a bit flat (no pun intended! Get it? Flat white? Ok, we’ll stop now).
- CoffeeLove vanilla? We do! You can definitely use some vanilla extract, but we’re big fans of the Monin Brand due to consistency in creating the perfect taste. What’s more, they offer a slew of sugar free options alongside their more traditional offerings.
⸙ Trade secret: we here at CGG believe that you can get by with caramel, vanilla, and hazelnut syrup alongside vanilla and chocolate (or mocha!) frappe powders (we recommend Ghiradelli, but any substantial powder will do) for 90 percent of all ‘primo’ drinks that you were previously paying top dollar for.
Step-by-step guide for frozen fun: making a delicious frozen drink without dropping mad dinero!

- Step 1: measure our 60 mL of espresso, or a double shot and place in your cup of choice
- CoffeeStep 2: add two pumps of vanilla (more or less to flavor, of course) into your blender
- CoffeeStep 3: place one cup of vanilla powder into your blender
- CoffeeStep 4: add two cups of your milk of choice followed by the espresso
- CoffeeStep 5: add your mountain of ice
- Coffee Step 6: hit pulse, pour, and enjoy!
⸙ Trade secret: when it comes to frozen drinks, a good rule of thumb is placing all of your ingredients into your blender and then measuring out your dosing of ice, which should be 120 percent as compared to the cup (i.e., ice should look like a mountain in the cup)
Step-by step guide for Iced x-citement: need a pick me up after the gym, but without the heat? Try this ice-y latte!

- Step 1: measure our 60 mL of espresso, or a double shot
- CoffeeStep 2: for iced drinks pour out your espresso over ice, which should only account for 75 percent of your cuppa
- CoffeeStep 3: dispense two pumps or so of vanilla syrup into your ice-y espresso
- CoffeeStep 4: add your milk to the rim, shake (or stir)…and slurp!
Step-by-step guide for the hot-te (get it?): get ready to learn the craft that used to seem so secret before…but no more!

- Step 1: measure our 60 mL of espresso, or a double shot and place in your cup of choice
- CoffeeStep 2: add two pumps of vanilla to your espresso
- CoffeeStep 3: for hot drinks, place two cups of milk on the stovetop and prepare to heat to between 150- to 160-degrees Fahrenheit; NOTE: you can use the microwave if in a rush, but you will have less control over the outcome of your drink; remove from heat and grab your frothing wand
- CoffeeStep 4: take care as your milk is extremely hot, insert the wand, and slowly begin to froth until you believe there to be a good 80-20 split between liquid and foam then stop
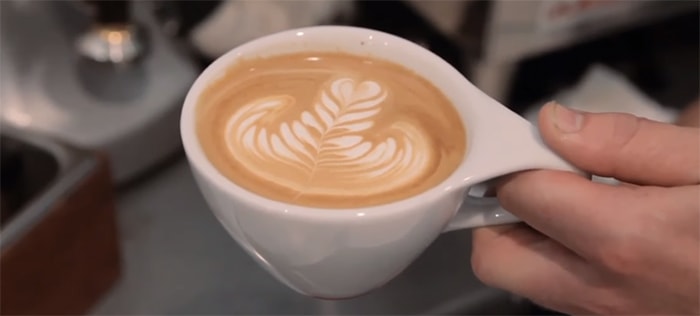
- CoffeeStep 5: now, for the pour, hold your espresso and vanilla cuppa flat on your countertop and slowly pour out the liquid portion of your milk; save your foam for last so that you can get that café-like art, which is achieved by displacing that gorgeous brown espresso at the bottom with the warm (no, hot!) milk
- CoffeeStep 6: cover and enjoy with caution (or reckless abandon, since who are we to judge!)
In summary: in order to really cut back on your spend, and as we head into that most glorious time of the year (no, not the Holiday season, but, rather Pumpkin Spice season!), we are going to put our money where our mouth is (literally) and encourage you to follow the exact same guides above, but, this time, use Monin’s Pumpkin Spice syrup, or make your own using maple syrup, nutmeg, ginger, and clove.
Oh, and don’t forget to practice your latte art or invest in a nifty little stencil…all for pennies on the dollar…literally!
Finally, remember that sharing is caring and we hope to get your feedback on how these recipes work out (or don’t) so that we can help all coffee consumers become connoisseurs in due time!


