Roasting coffee beans at home isn’t rocket science, but it’ll give you a seriously fresh cup of joe that’ll make your taste buds do a happy dance.
First, grab some quality green beans and a decent roaster. Preheat that bad boy to about 350°F, toss in your beans, and listen for the first crack. Keep an eye on the color change, aiming for a medium roast in about 10-15 minutes. Once they’re done, cool ’em down fast and store ’em right.
Don’t forget to experiment with different roast profiles to find your perfect brew. You’ll be sipping on coffee nirvana in no time. Stick around, and I’ll spill the beans on all the juicy details.
Quick Summary
- Select high-quality green coffee beans, ensuring uniformity in size and color.
- Invest in essential equipment: a roaster, thermometer, ventilation, heat-resistant gloves, and cooling apparatus.
- Preheat the roaster to 350°F, add beans, and monitor color changes and cracking sounds.
- Aim for a medium roast, typically taking 10-15 minutes, then cool beans quickly within 4 minutes.
- Store roasted beans in airtight containers with one-way valves, allowing 12-24 hours for degassing before sealing.

Selecting Green Coffee Beans
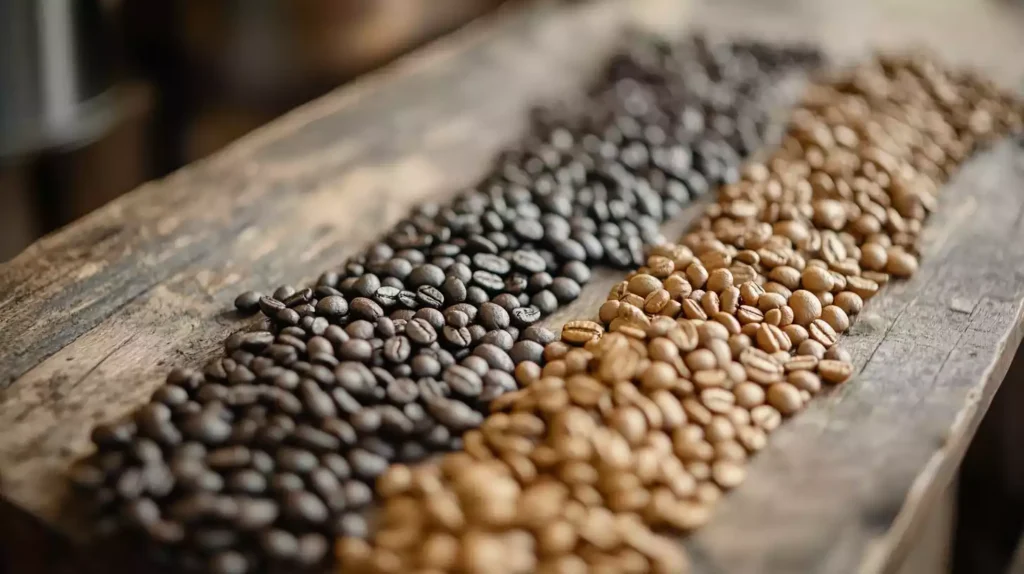
The foundation of great coffee lies in selecting high-quality green coffee beans. I can’t stress this enough: your roast is only as good as the beans you start with.
Don’t skimp here, folks. Look for beans that are uniform in size and color, without any visible defects.
If you see shriveled, discolored, or oddly shaped beans, run for the hills. When selecting beans, consider whether you want to make regular coffee or espresso, as espresso beans are typically roasted darker and longer for a bolder taste.
I prefer to source my beans from specialty coffee suppliers. They’ll give you the lowdown on origin, processing method, and flavor notes.
It’s worth the extra effort. When you’re starting out, try a few different varieties. Maybe a bright Ethiopian Yirgacheffe or a chocolatey Brazilian Santos. Experiment and find what tickles your taste buds.
Store your green beans in a cool, dry place. No need for anything fancy – a burlap bag or airtight container will do the trick.
Just keep them away from moisture, light, and strong odors. They’ll stay fresh for months, so don’t be afraid to buy in bulk. Remember, fresher is always better when it comes to coffee. Now, let’s get roasting
Essential Roasting Equipment
Every aspiring home roaster needs a few key pieces of equipment to get started. First up, you’ll want a decent roaster. Sure, you could use a popcorn popper or a cast-iron skillet, but let’s be real – a proper coffee roaster will make your life a whole lot easier.
It’s worth the investment if you are going to be roasting your own beans for the foreseeable future.
If you’re feeling adventurous, you can even try cold pressing your roasted beans to extract coffee bean oil, which can be used for various culinary purposes.
Now… grab yourself a good thermometer. You’ll need to keep a close eye on those temperatures, or you’ll end up with burnt beans faster than you can say “espresso.” Don’t forget about cooling – a colander or two will do the trick nicely.
Now, let’s talk ventilation. Unless you want your house smelling like a coffee shop (which, let’s face it, isn’t the worst thing), you’ll need a fan or a well-ventilated area. Your significant other will thank you.
Lastly, get yourself some heat-resistant gloves. Burned fingers aren’t a badge of honor in the coffee roasting world. With these essentials, you’ll be well on your way to roasting like a pro. Just don’t forget the most important ingredient – patience
The Roasting Process
Roasting coffee beans is an art form that requires precision, attention to detail, and a bit of intuition. I’ve learned that the process isn’t rocket science, but it’s not a walk in the park either.
First, I’ll preheat my roaster to around 350°F. Once it’s hot, I’ll pour in my green beans and listen for the first crack. That’s my cue to pay attention!
As the beans roast, I’ll keep a close eye on their color. They’ll change from green to yellow, then to light brown, and finally to that rich, dark brown we all love. Don’t doze off during this part, or you’ll end up with charcoal instead of coffee!
I usually aim for a medium roast, which takes about 10-15 minutes. It is crucial to bear in mind that washing green beans before roasting can affect the final taste and acidity of the coffee, so I prefer to leave them unwashed unless they’re particularly dirty.
When I hear the second crack, I know it’s time to wrap things up. I’ll quickly cool the beans by dumping them into a colander and stirring.
You don’t want to skip this step unless you’re aiming for burnt beans. Once they’re cool, I’ll store them in an airtight container. Voila! Home-roasted perfection
Cooling and Storing

After roasting, how quickly should you cool your beans? Let me tell you, it’s vital to cool them as fast as possible. I’m talking within 4 minutes, tops.
Why?
Because those little roasted gems are still cooking inside, and we don’t want that. Over-roasted beans are nobody’s friend. Just like with coffee grounds storage, proper handling of freshly roasted beans is very important for preserving flavor and aroma.
Now, let’s talk about storing your freshly roasted beauties:
- Let them degas for 12-24 hours before sealing
- Use airtight containers, preferably with one-way valves
- Store in a cool, dark place – not your fridge or freezer!
- Use within 2-3 weeks for peak flavor
I can’t stress this enough: proper storage is key to maintaining that perfect roast you’ve worked so hard to achieve.
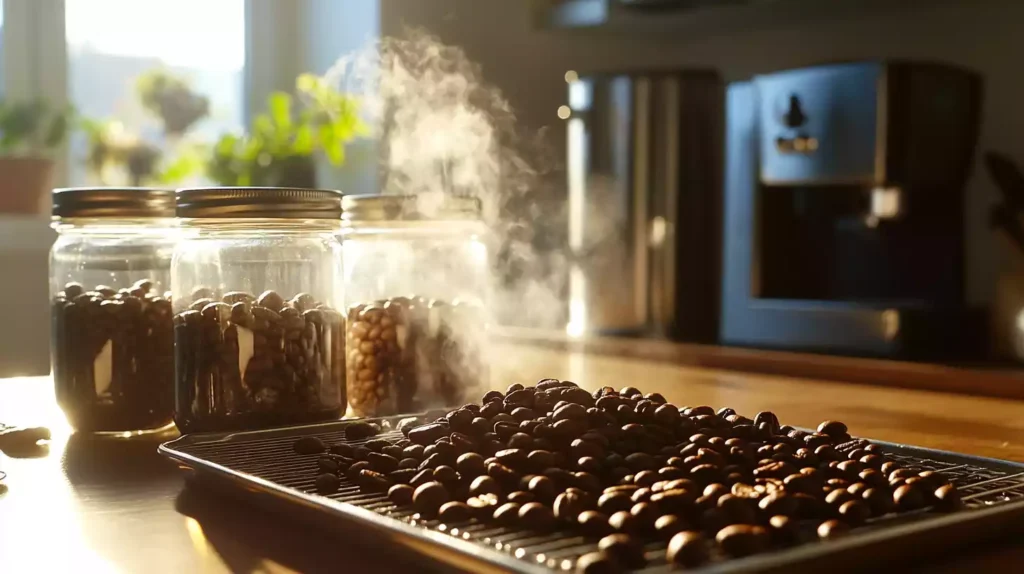
Don’t let all your effort go to waste by neglecting this step. And please, don’t use those fancy glass jars. They might look pretty, but they’re letting light ruin your beans. Stick to opaque containers, and you’ll thank me later when you’re sipping on that delicious, freshly roasted brew.
Perfecting Your Roast Profile
Now that we’ve covered proper cooling and storage, it’s time to focus on the heart of the matter: your roast profile. This is where the magic happens, folks. I’m not kidding when I say that nailing your roast profile can make or break your coffee.
I suggest you get a notebook. You’ll want to track every single roast you do. Trust me, your future self will thank you. Record the bean type, weight, roast time, and any adjustments you make. Don’t skimp on the details!
Start with a basic profile: 12 minutes total, with first crack around 8 minutes. Sounds simple, right? Well, here’s where it gets tricky. You’ll need to tweak this based on your beans and equipment. Maybe you’ll need to crank up the heat earlier, or extend the roast time. It’s all about experimentation.
Listen for those cracks, watch the color changes, and trust your nose. If it smells burnt, it probably is. Remember, perfection takes practice. Don’t get discouraged if your first few batches taste like charcoal.
Keep at it, and you’ll be a roasting pro in no time.


hey everyone, just read through the article and was wondering, how do ya’ll go about selecting the best green beans? like, there’s so many options out there and I get kinda overwhelmed. Emma mentioned the importance of quality but didn’t dive deep into how to actually pick em. any advice?
Hey BeanRoastKing99, I usually start by looking for beans from reputable suppliers. Read reviews and maybe start with a sampler pack to find what profiles you like. It’s more about experimenting at first.
Absolutely agree with RoastRider. Testing different beans from trusted sources is the key to finding your perfect roast.
loved the bit about cooling and storing. didn’t know that was so crucial, thanks emma!
While I appreciate the emphasis on selecting green coffee beans, I believe the article overlooks the importance of the roast date. Freshly roasted beans are crucial to the coffee’s final taste, and I’d argue that aspect deserves as much attention as the selection of green beans. Thoughts?
Solid overview on the roasting process, Emma. But, there’s a bit of nuance to ‘cooling’ that got glossed over. Rapid cooling vs slow cooling can impact the flavor profile big time. Maybe worth diving deeper into?
haha, feel ya. A good roast is like the sunrise in my cup before heading to work.