Coffee filter butterflies offer a super fun craft adventure for parents and kids alike.
The magic happens when vibrant colors bleed through the delicate filters, creating unique patterns that never turn out the same way twice.
Thousands of families love this project each summer, transforming simple kitchen supplies into fluttering works of art. With just markers, water, and a few pipe cleaners, ordinary afternoons transform into creative memories.
The best part? Even the most craft-challenged adults can’t mess this one up. Just wait until you see what happens when the water hits those colors.
Quick Summary
- Flatten coffee filters and decorate with washable markers or watercolors, then spritz with water to create vibrant, bleeding colors.
- Pinch the coffee filter in the middle and wrap a pipe cleaner around it to form the butterfly’s body and antennae.
- Gently fan out the coffee filter on both sides to create wings, using accordion folds for a dimensional effect.
- Add optional embellishments like googly eyes, glitter, or shaped pipe cleaner antennae for personalized touches.
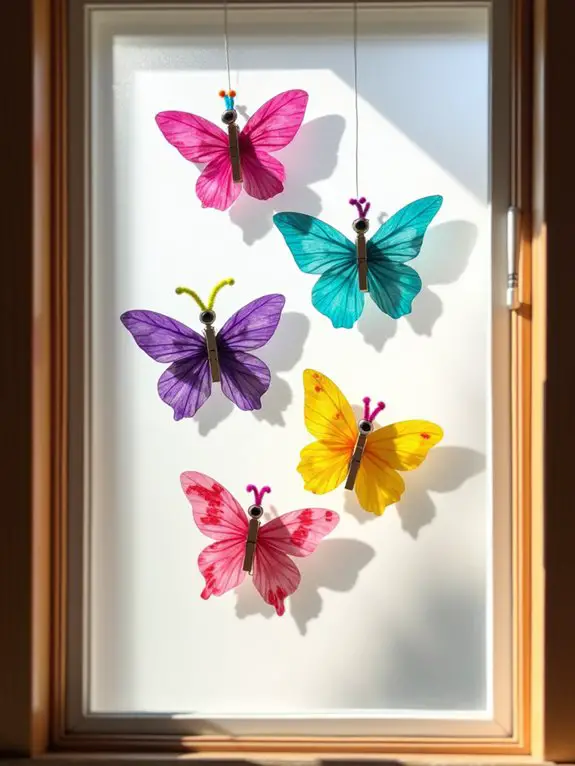
- Display finished butterflies as refrigerator magnets, window decorations, or create a mobile by hanging multiple butterflies at different heights.
Step 1: Gathering Your Supplies and Arrange What You’ll Need

The humble coffee filter, that unsung hero of this craft routine, is about to undergo a magical transformation into a delicate butterfly.
To set out on this crafty project, gather these simple supplies:
- Coffee filters (white ones work best!!)
- Washable markers (the vibrant, bleeding kind)
- Spray bottle with water
- Pipe cleaners
- Googly eyes (optional, but who doesn’t love googly eyes?)
- Clothespins or clips
One mother in Nebraska wrote to us to say that her toddler was more interested in spraying everything BUT the coffee filters… consider yourself warned! Haha…
The kitchen table will never see this coming. While waiting for your butterfly craft to dry, you could explore creative approaches to coffee brewing like using a teapot for a fun alternative method.
Step 2: Transforming Coffee Filters With Vibrant Colors

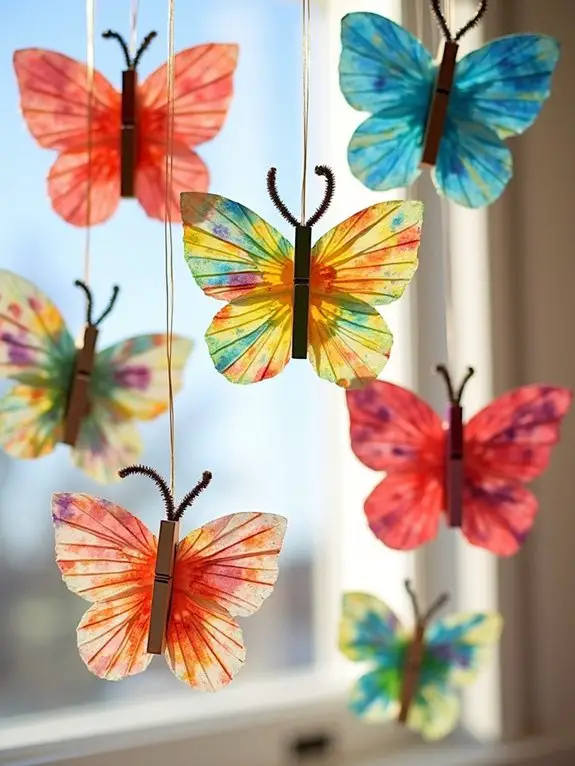
Now comes the truly magical part of this butterfly transformation….. adding a riot of color to those plain white coffee filters.
Kids absolutely love this step! Simply lay the filters on a protected surface, then let the little artists go wild with:
- Watercolors (the runnier, the better)
- Diluted food coloring
- Washable markers spritzed with water
The colors blend and bleed together in magnificent, never-predictable ways. One preschool teacher reports this activity kept twenty fidgety four-year-olds silent for fifteen whole minutes, practically a miracle in child wrangling terms!
Remember: there’s no wrong way to color these beauties. Even accidental spills create spectacular patterns.
Just like the mesh filter in a French press allows for thorough extraction of coffee flavors, these porous coffee filters beautifully absorb and blend colors for unique artistic creations.
Step 3: Folding Techniques for Perfect Butterfly Wings

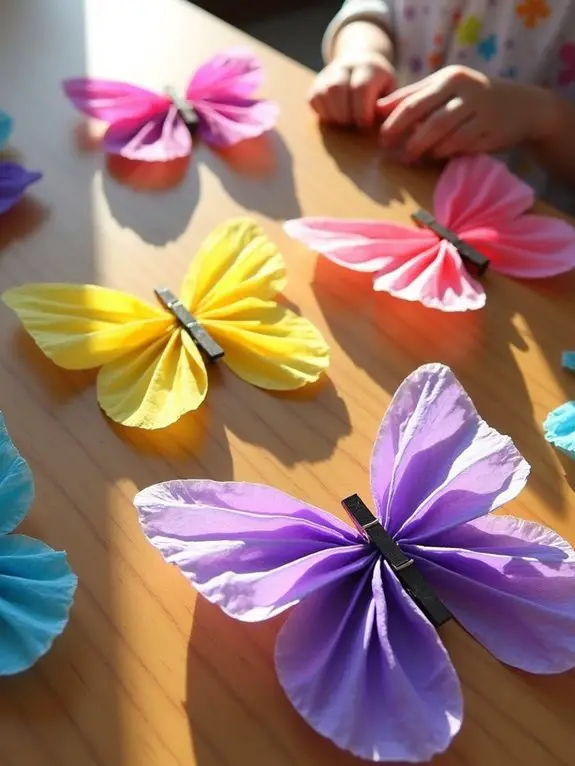
After your filters have fully dried into colorful masterpieces, folding them transforms these flat discs into dimensional winged creatures ready to take flight. The accordion fold, often a challenge for little fingers but worth the struggle, creates those satisfying ridges every butterfly needs.
Three simple steps to butterfly bliss:
- Pinch the center of your filter
- Wrap a clothes pins around the middle (tight enough to hold, loose enough not to tear)
- Gently fan out each side
When using coffee grounds for your craft projects, remember that keeping them away from direct sunlight will preserve their vibrant colors longer.
Step 4: Adding the Finishing Touches With Pipe Cleaners

Pipe cleaners, those fuzzy magical wands of craft time, transform simple coffee filter butterflies from flat paper creatures to animated insects ready for imaginative play. Just fold one in half, twist it around the middle of your butterfly, and—voilà—you’ve created antennae!
Many parents report that this step, though seemingly simple, can trigger unexpected giggles when little fingers make pipe cleaner mustaches instead. Who knew entomology could be so hilarious?
For the finishing touch, shape the pipe cleaner ends into tiny loops or spirals. This prevents the infamous “poked-in-the-eye-by-craft-supplies” incident that’s ruined many a playdate.
Step 5: Creative Variations to Try With Your Kids

While mastering the perfect pipe cleaner antenna might feel like a craft victory, the real winner of coffee filter butterflies lies in their endless potential for creative experimentation. Kids naturally gravitate toward innovation so let them keep inventing. It is super fun to see what gets created.
The humble coffee filter transforms into a canvas for childhood creativity, where pipe cleaners and imagination take flight.
Try these twists:
- Add glitter for sparkly wings
- Use food coloring instead of markers
- Create butterfly mobiles by hanging multiple creations
- Attach magnets for refrigerator display
- Try different sizes of filters for varied butterfly species
Let imagination soar! The most memorable crafts often come from happy accidents rather than perfect execution.
Step 6: Displaying Your Beautiful Butterfly Creations

Those delicate, color-bursting coffee filter butterflies deserve more than being stuffed in a drawer or—heaven forbid—tossed in the recycling bin after craft time ends.
Display options abound:
- String them together as garland across windows
- Attach to curtain rods with fishing line for a “floating” effect
- Clip them to a branch in a vase (instant butterfly tree!)
- Tape to bedroom walls in flight formation
Some of my daughter’s butterflies stayed on display for three years… long after she had moved on to slime-making obsessions.
Remember: There’s no wrong way to showcase butterfly art, unless you hide it away.
The Science Behind the Color Magic

Have you ever wondered why those vibrant colors spread so mesmerizingly across a wet coffee filter?
It’s all about capillary action – water molecules climbing through the filter’s tiny fibers, dragging color along for the ride. Like tiny mountaineers with rainbow backpacks!
Water molecules work as nature’s color carriers, hiking up the filter’s micro-trails with pigment passengers in tow.
The coffee filter material, unlike regular paper, has unique absorbency properties designed to, well, filter coffee. Who knew this kitchen staple would become an art medium?
Some cool science facts:
- Darker colors travel slower than lighter ones
- Salt can create fascinating patterns by disrupting the flow
- Heat speeds up the whole process
Magic or science? With kids, it’s wonderfully both!
Comment below if you have tried making some of these at home and how this craft project turned out for you and your kids. We would love to hear it!


Just tried making these with my kiddos, and everyone had a blast! Thanks for such a fun and easy-to-follow guide, Emma. The science part was a hit with the kids too!
hey, so im curious, what kind of dyes work best for the coloring part? wanna try something that doesn’t just run off when it dries. any tech or sci behind that, Emma?
We used regular food coloring and it worked great!
Actually, water-based dyes are best because they absorb into the coffee filter’s fibers, creating that cool effect.
imagined butterflys jamming out to jazz while making these haha
I love how these butterflies add a pop of color! I placed mine among my houseplants, and it looks like a little garden party. Fantastic idea for reusing materials and brightening up the home. Emma, your creativity never ceases to amaze!
seems like to much work for something that’ll just collect dust.
The accordion fold was a bit tricky at first, but once I got the hang of it, the butterflies really came to life. So satisfying to see the transformation!
My cat thought these were real butterflies. 10/10 for realism.
Fascinating how simple materials can be transformed into something so beautiful. Does the type of coffee filter make a difference in how the colors absorb and spread? I’m tempted to try different brands to see if there’s a variation in the finished product.
Great question, George! The texture and density of the coffee filter can indeed affect how the dye spreads and absorbs. Feel free to experiment and share your findings!
using this project for a class activity, and it was marvelous! Not only did the students enjoy creating their own butterflies, but we also incorporated a lesson on the science of color absorption and capillary action. Engaging, educational, and environmentally friendly all in one. Kudos, Emma, for such a brilliant idea!